How to DIY E-Liquid? The Most Detailed DIY E-Liquid Guide
The biggest fun of vaping is DIY: DIY coils, DIY coil jigs, DIY cotton, and even DIY e-liquid. When it comes to making your own e-liquid, there is a lot to learn, because flavor matters and many details affect the final taste. Key elements of DIY e-liquid
The greatest joy of vaping lies in DIY—DIY heating wires, DIY coiling tools, DIY cotton, and even DIY e-liquid. When it comes to DIY homemade e-liquid, there are many factors to consider, as e-liquid must take flavor into account, and creating a good-tasting e-liquid requires attention to many details.
DIY E-Liquid Essentials
Formula
Calculation
Mixing
Steeping
First, you need to know that e-liquids can be roughly divided into two types based on flavor complexity: one is a single-flavor formula, meaning that besides the base liquid, there is only one flavoring agent used to create the e-liquid, resulting in a single flavor. This type is simple and easy to handle, but the downside is that due to the singular flavor, the overall e-liquid may feel somewhat bland. Generally, professional flavorists go through this learning process, diluting each flavoring agent to create single-flavor e-liquids, then vaping these to familiarize themselves with the characteristics and flavor profiles of each flavoring agent. The other type is a compound formula, which is the method most commercial e-liquids use, combining multiple flavoring agents to create a layered flavor and a unique aroma when mixed.
At this point, I think it's necessary to explain some knowledge about flavor, throat hit, and layering.
First, flavor—what people often say about different tastes is only partially true, as most easily accepted flavors are those that people can easily get used to. A good e-liquid should have a full flavor, with a lasting aroma in the mouth, a pleasant aftertaste, and some flavors may need to include sweet and bitter notes for balance, providing a delightful experience when vaping.
Next is layering. A good e-liquid should have at least two layers, which we also refer to as "notes": top note and base note. The top note is the first sensation upon inhalation, and flavors suitable for top notes must have high distinguishability, and should also be selected for their high masking index to avoid being overshadowed by the base note. The base note is the aftertaste that lingers in the mouth after exhalation. When selecting flavors for the base note, it’s advisable to use rich flavors like cream or cookie, which can ensure the distinguishability of the top note while also providing a full aftertaste upon exhalation, preventing a reversal of roles. There is also a middle note, similar to perfumes, where e-liquids can be divided into top, middle, and base notes. However, the middle note is characterized by its brief presence and requires experience to appreciate. Generally, the process involves taking a deep puff of e-liquid, allowing it to linger briefly in the mouth or chest, then exhaling in small puffs, allowing the middle note to transition from vague to distinct, ultimately finishing with a rich base note for a great experience. I will write another article or video to share more about this. When selecting flavors for the middle note, it’s best to choose flavors that belong to the same category as the main flavor but differ in taste, ideally with a slightly higher masking index than the main flavor, and then control the ratios to preserve the presence of the middle note.
DIY E-Liquid Ingredients
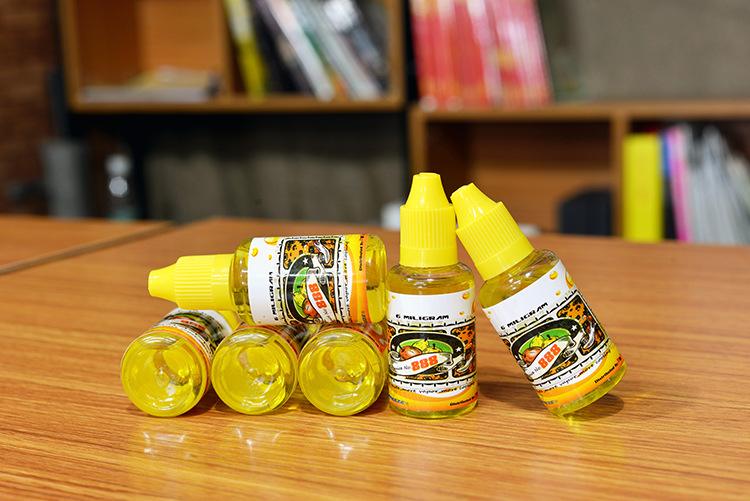
The most common setup is a bottle filled with flavoring agents dissolved in PG. All you need to do is add specific amounts of flavoring agents, VG, PG, and nicotine to your own bottle, mix them together, and you’ve completed your first homemade e-liquid.
DIY E-Liquid Guide: What is the Ratio of Flavoring Agents?
?
8%-15% is a reference value. Generally, for e-liquids aimed at foreign markets, the ratio is around 10%. To be more specific, tobacco flavor is 8%, fruit flavor is 10%, and mint flavor is 5%.
1. TFA flavoring: Fruit flavors tend to be on the lighter side, with a ratio of 10%-15%. Cream flavors are quite strong, commonly at 10% ratio.
2. Hellocig flavoring: Rich flavors. Fruit flavors are intense. Add around 10%. For those who prefer stronger flavors, increase the ratio appropriately.
3. Capella flavoring: Overall flavor is stronger than TFA flavoring, and the price is slightly higher. Flavor restoration is high, and stability is good. Start mixing at 10% and adjust according to personal preference.
The flavoring ratios provided above are just general guidelines; since everyone has different tolerances for flavoring agents, you can adjust them when mixing e-liquids. This process is part of the fun of DIY e-liquids.
DIY E-Liquid Rules to Follow
1. Never attempt to purchase pure nicotine, as it is highly toxic; even contact with skin can cause harm. Generally, a nicotine solution of 100mg/ml is the upper limit for nicotine concentration.
2. Do not let high-concentration nicotine solutions come into contact with any part of your body; be cautious during DIY.
3. Always wear rubber protective gloves when DIYing e-liquids; if possible, wear "work clothes" (to prevent various high-concentration materials from staining your favorite clothes) and protective eyewear.
4. Do not pursue nicotine concentration purely for stimulation; the human absorption efficiency of nicotine from vaping and smoking differs and varies from person to person. I strongly recommend starting with a nicotine content of 12mg/ml for e-liquids, gradually decreasing or increasing. The highest nicotine content available in branded e-liquids on the market is 36mg/ml; please do not attempt to DIY e-liquids exceeding this nicotine concentration, as safety should not be taken lightly!
5. Keep DIY e-liquids away from minors and pets (the same goes for low-concentration finished e-liquids).
6. Be cautious of fire hazards when DIYing and storing e-liquids/ingredients, as most finished e-liquids and ingredients are flammable.
7. Properly store various ingredient bottles during DIY to prevent spills and splashes from accidental contact.
8. If possible, purchase nicotine content testing instruments (they look high-tech but are actually inexpensive) to avoid producing e-liquids with excessively high nicotine content due to mistakes during DIY.
9. Always purchase e-liquid ingredients (PG, VG, AG, nicotine solutions, flavoring agents, sweeteners, etc.) from reputable international brands that clearly state "suitable for e-liquid formulation". Peter's post "Choose USP-marked PG and VG for DIY E-Liquid" mentions this issue. Additionally, not all food flavorings can be used in e-liquids; some flavorings may be harmless in liquid form but could be toxic when vaporized (specific content may be supplemented in another post later).
10. If your vaping experience is less than three months, it is not recommended to DIY e-liquids.
11. Some people may be allergic to PG or experience discomfort, but this does not pose serious health issues.
How to DIY E-Liquid? Making your own e-liquid is a very enjoyable activity that can yield incredible results. The cost of homemade e-liquid is much lower than that of commercial e-liquids. Moreover, homemade e-liquids can be tailored to your personal taste preferences. Additionally, the immersive nature of the DIY process can provide a great sense of accomplishment.