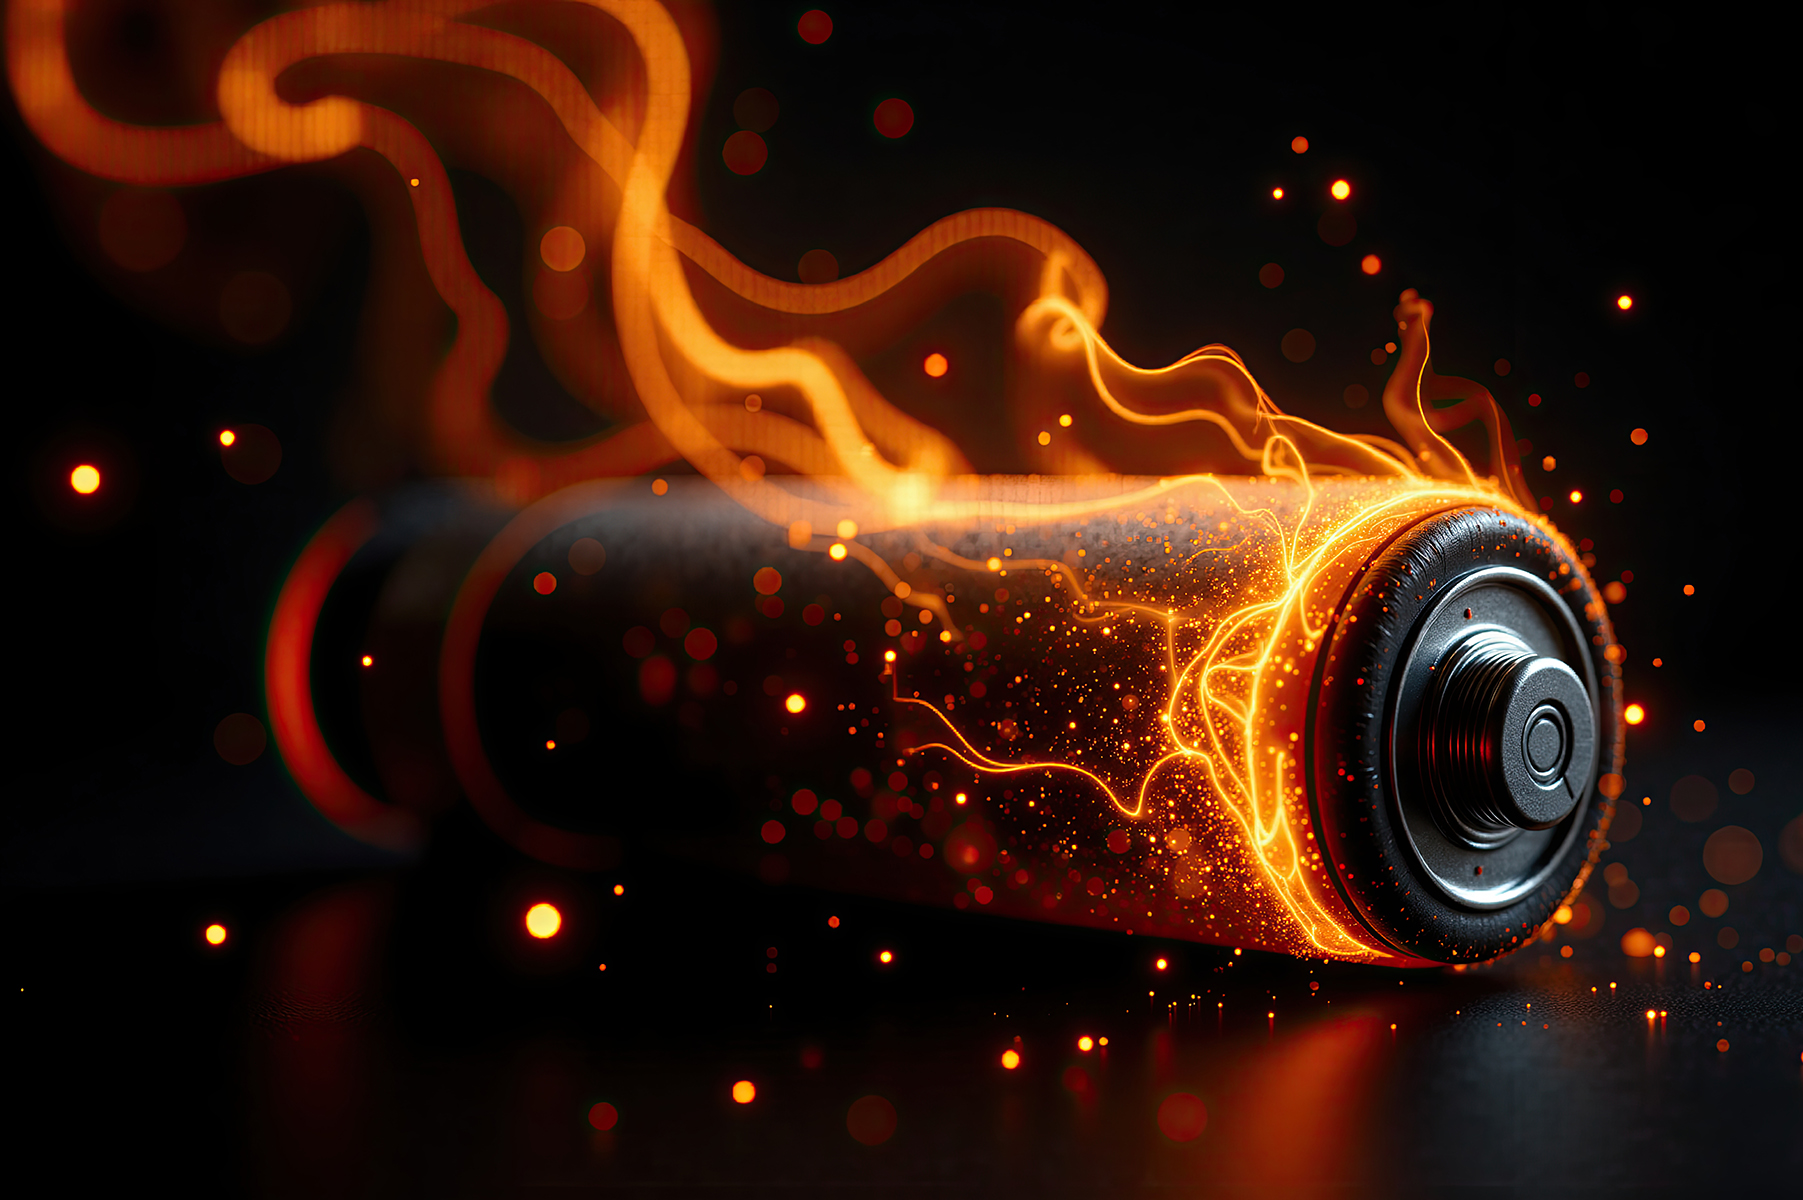
What to Do If Your Coil Gets Burnt
What should you do if your coil gets burnt? Many users encounter this puzzling problem: the wattage seems right, the coil has e-liquid, and the device appears fine, but once fired, the coil burns immediately or the vapor feels extremely hot and harsh. Aft
What to Do If Your Coil Gets Burnt
Many friends may encounter the perplexing issue of a burnt coil in their atomizer. The power is appropriate, there is e-liquid in the coil, and the device seems fine, yet the coil burns out immediately upon firing, or the vapor feels very hot and harsh. After ruling out issues with cotton, e-liquid, and the device, a significant possibility is that improper operation has led to the coil burning out. A burnt coil is a phenomenon, and to find the cause of this phenomenon, you can follow these steps.

What to do if your coil gets burnt? Before introducing specific steps, here is a little knowledge for beginners.
Finding the right power to avoid burning cotton or melting the heating wire
1. Observe the resistance of your heating wire after it burns out. Some devices require you to unscrew the atomizer and reinstall it to read the resistance accurately; otherwise, it may show inaccurate readings. (For pre-made atomizers, just screw it onto the device to read the resistance without needing to burn the wire, etc.)
2. If the resistance is 1Ω (ohm), try adjusting the voltage to 3.7V (some devices may not display real-time voltage. However, except for semi-mechanical devices, the resistance can be displayed. For semi-mechanical devices, just adjust the voltage to around 3.7V). If the voltage can be displayed, proceed to step 4 after adjusting. If it cannot display voltage and only shows resistance, proceed to step 3 and read in order.
3. Use the formula Power = Voltage * Voltage / Resistance. For example: 3.7 * 3.7 / 1 = 13.69W, so adjust the power to around 13W.
4. Theoretically, 3.7V is considered a voltage that should not burn the coil, but it is not recommended to use this voltage continuously. The specific suitable voltage for different heating wire materials varies, and a more stable voltage can be adjusted around 3.7V, with a normal voltage range considered to be from 3.0V to 4.4V, based on the absence of burnt taste and not being too hot.
What to do if your coil gets burnt? Reasons for burnt coils in pre-made atomizers
1. Power is too high.
Solution: Simply reduce the power, starting from the corresponding voltage of 3.7V. If this is the cause, it will resolve the issue immediately.
2. Airflow is too small, which generally occurs with beginners' first atomizers. Players may hesitate to inhale, causing the atomizer to heat up without airflow entering, leading to overheating and burning the coil.
Solution: It's simple, just inhale confidently.
3. Airflow is not opened, preventing cooling of the heating coil. This situation is purely a personal error.
Solution: Take a puff to calm down.
4. The lifespan of the pre-made coil has reached its limit, and the atomizer is filled with carbon buildup, causing a burnt taste when heated. Alternatively, there may be quality issues with the pre-made coil, leading to poor oil delivery. Therefore, if there are no issues with power, airflow, or usage methods, and suddenly there is an off taste or burnt coil, it indicates that the pre-made coil has reached the end of its lifespan.
Solution: Replace the heating coil.
What to do if your coil gets burnt? Reasons for burnt coils in DIY atomizers
1. Power is too high.
Solution: Simply reduce the power, starting from the corresponding voltage of 3.7V. If this is the cause, it will resolve the issue immediately.
2. Airflow is too small, with insufficient airflow to cool the heating coil, leading to excessive temperature and burnt coil. Alternatively, if players hesitate to inhale, even with the maximum airflow open, there may still be no airflow passing through the atomizer.
Solution: Open more airflow and inhale boldly.
3. Improper coil making, resulting in uneven heating of the heating wire.
Solution: Re-burn the wire to ensure even heating.
4. The heating coil is not tightened, leading to noticeable hotspots in the coil during the atomizer's operation, which can cause off-flavors in the e-liquid.
Solution: Secure the heating coil tightly, preferably disassemble and reassemble it, rather than just forcing the screws tight.
5. The heating wire has reached its lifespan, with the most obvious evidence being a large amount of black substance on the surface of the heating coil or cotton, indicating carbon buildup.
Solution: Replace the heating coil.
Many friends may encounter the perplexing issue of a burnt coil in their atomizer. The power is appropriate, there is e-liquid in the coil, and the device seems fine, yet the coil burns out immediately upon firing, or the vapor feels very hot and harsh. After ruling out issues with cotton, e-liquid, and the device, a significant possibility is that improper operation has led to the coil burning out. A burnt coil is a phenomenon, and to find the cause of this phenomenon, you can follow these steps.
What to do if your coil gets burnt? Before introducing specific steps, here is a little knowledge for beginners.
Finding the right power to avoid burning cotton or melting the heating wire
1. Observe the resistance of your heating wire after it burns out. Some devices require you to unscrew the atomizer and reinstall it to read the resistance accurately; otherwise, it may show inaccurate readings. (For pre-made atomizers, just screw it onto the device to read the resistance without needing to burn the wire, etc.)
2. If the resistance is 1Ω (ohm), try adjusting the voltage to 3.7V (some devices may not display real-time voltage. However, except for semi-mechanical devices, the resistance can be displayed. For semi-mechanical devices, just adjust the voltage to around 3.7V). If the voltage can be displayed, proceed to step 4 after adjusting. If it cannot display voltage and only shows resistance, proceed to step 3 and read in order.
3. Use the formula Power = Voltage * Voltage / Resistance. For example: 3.7 * 3.7 / 1 = 13.69W, so adjust the power to around 13W.
4. Theoretically, 3.7V is considered a voltage that should not burn the coil, but it is not recommended to use this voltage continuously. The specific suitable voltage for different heating wire materials varies, and a more stable voltage can be adjusted around 3.7V, with a normal voltage range considered to be from 3.0V to 4.4V, based on the absence of burnt taste and not being too hot.
What to do if your coil gets burnt? Reasons for burnt coils in pre-made atomizers
1. Power is too high.
Solution: Simply reduce the power, starting from the corresponding voltage of 3.7V. If this is the cause, it will resolve the issue immediately.
2. Airflow is too small, which generally occurs with beginners' first atomizers. Players may hesitate to inhale, causing the atomizer to heat up without airflow entering, leading to overheating and burning the coil.
Solution: It's simple, just inhale confidently.
3. Airflow is not opened, preventing cooling of the heating coil. This situation is purely a personal error.
Solution: Take a puff to calm down.
4. The lifespan of the pre-made coil has reached its limit, and the atomizer is filled with carbon buildup, causing a burnt taste when heated. Alternatively, there may be quality issues with the pre-made coil, leading to poor oil delivery. Therefore, if there are no issues with power, airflow, or usage methods, and suddenly there is an off taste or burnt coil, it indicates that the pre-made coil has reached the end of its lifespan.
Solution: Replace the heating coil.
What to do if your coil gets burnt? Reasons for burnt coils in DIY atomizers
1. Power is too high.
Solution: Simply reduce the power, starting from the corresponding voltage of 3.7V. If this is the cause, it will resolve the issue immediately.
2. Airflow is too small, with insufficient airflow to cool the heating coil, leading to excessive temperature and burnt coil. Alternatively, if players hesitate to inhale, even with the maximum airflow open, there may still be no airflow passing through the atomizer.
Solution: Open more airflow and inhale boldly.
3. Improper coil making, resulting in uneven heating of the heating wire.
Solution: Re-burn the wire to ensure even heating.
4. The heating coil is not tightened, leading to noticeable hotspots in the coil during the atomizer's operation, which can cause off-flavors in the e-liquid.
Solution: Secure the heating coil tightly, preferably disassemble and reassemble it, rather than just forcing the screws tight.
5. The heating wire has reached its lifespan, with the most obvious evidence being a large amount of black substance on the surface of the heating coil or cotton, indicating carbon buildup.
Solution: Replace the heating coil.