RELX’s Most Detailed Non-Destructive Pod Disassembly Process
Disassembling the first generation is actually very simple—just pry it open gently with a small pair of tweezers.
Disassembling the 3rd generation RELX Lingdian is also fairly easy and beginner-friendly.
3rd generation pod components: pod chamber, e-liquid, atomizing unit, Bluetooth chip
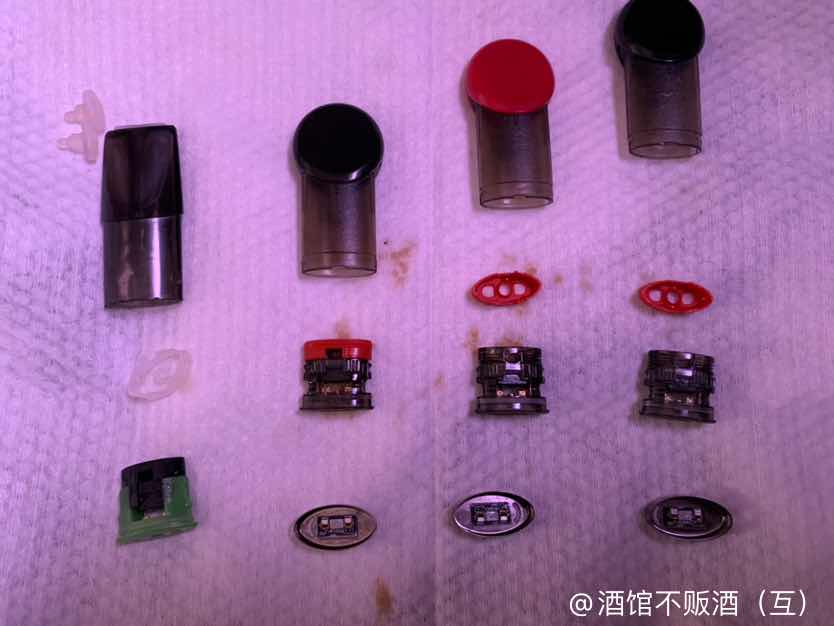
Step 1:
We can see a small hole above each metal clip on the left and right sides.
Important!!!
Please first note the direction of the flavor label
You will need it during reassembly
Use small tweezers from the left or far right side of the pod, keeping close to the plastic pod chamber, and gently push the metal clip toward the mouthpiece section to loosen it. (Note: be sure to do this slowly and do not rush. If you notice any deformation, switch to the other side immediately.)
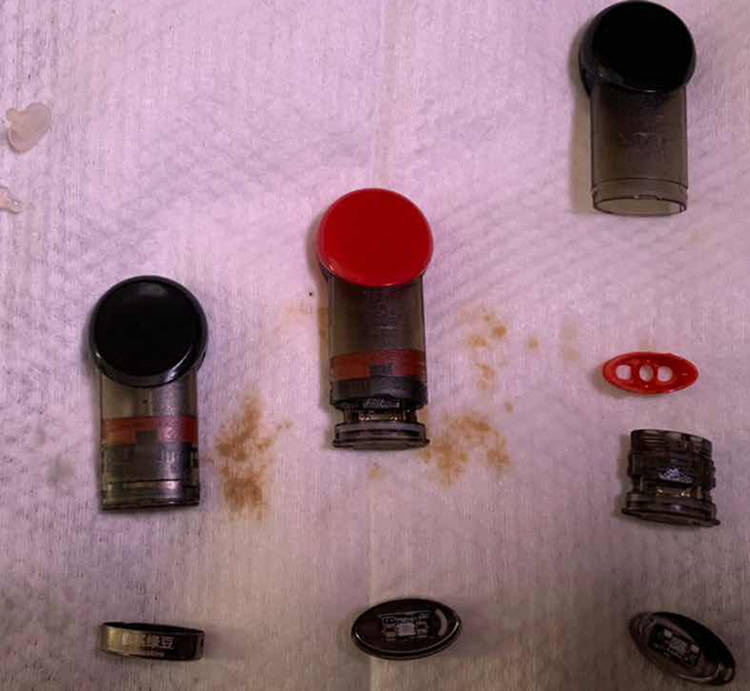
Step 2:
Push open and remove the metal clip, then take out the atomizing unit.
Step 3:
Remove the plastic sealing gasket inside the e-liquid chamber.
Reassembly process:
Important! Important! Important!
Be sure to snap the plastic sealing gasket onto the atomizing unit first, and then place it back into the pod chamber.
Important! Important! Important!
Reinstall the metal clip according to the original direction of the flavor label.