RELX Pod Disassembly and DIY Refilling Tutorial
Disassembling and refilling a RELX pod is actually very simple. I don’t know why people still use the old drilling method—it’s troublesome and it also makes leaks more likely.
Before refilling, one thing to note is that for a disassembled pod, it’s best to leave a little bit of e-liquid inside to help keep the wick primed.
Next, let’s bring out the main tool:
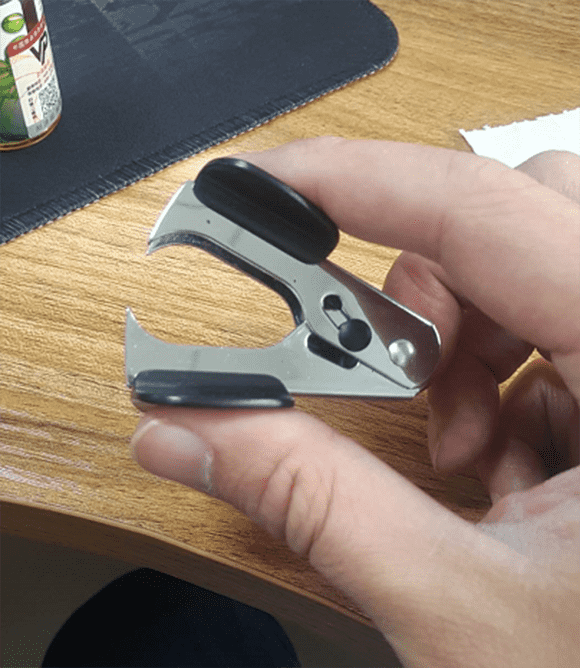
A staple remover. These are sold in most stationery stores and are very cheap, usually around 2–5 RMB.
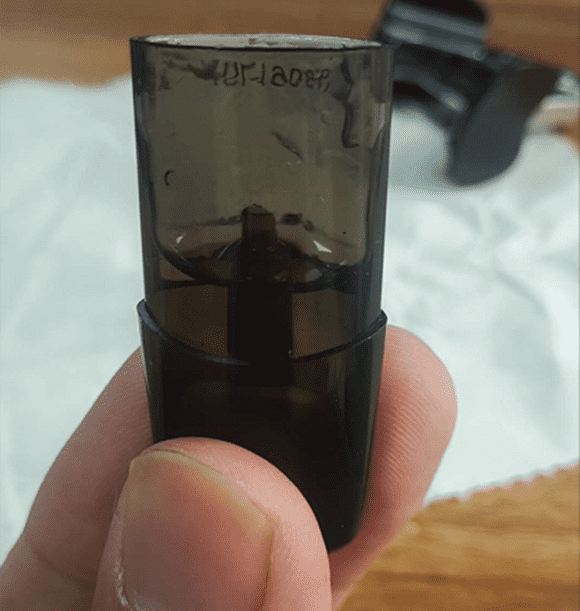
Clamp the bottom and pull it out gently.
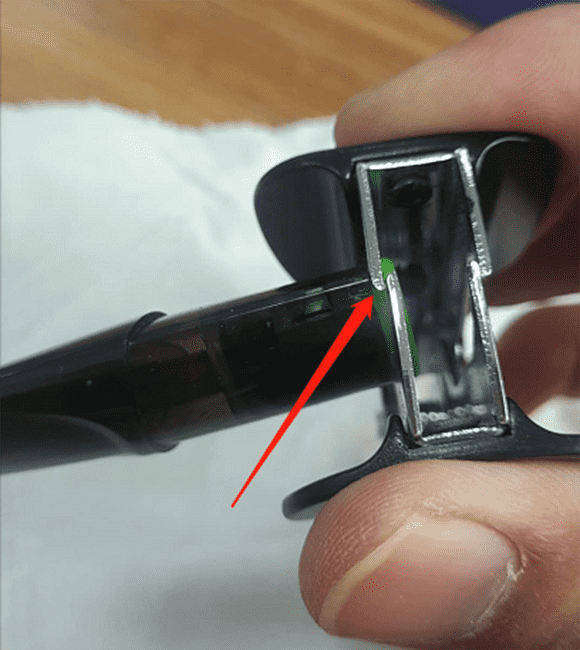
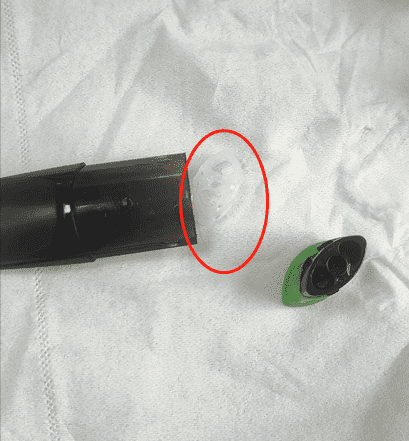
It’s that simple. One thing to watch out for: there is a sealing sleeve inside the pod. Don’t lose it. After taking it out, put it onto the atomizer core.
Next, I recommend using a tissue or something similar to clean out the remaining liquid from the original pod to prevent flavor mixing.
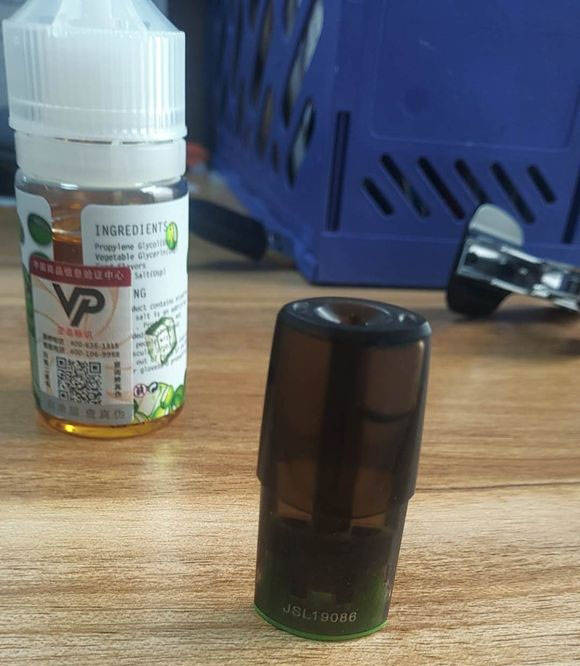
After cleaning, just add in the e-liquid you like.
When refilling, usually fill to this level; a little more is okay too. The main thing is to avoid overfilling, which could cause liquid to leak from the mouthpiece.
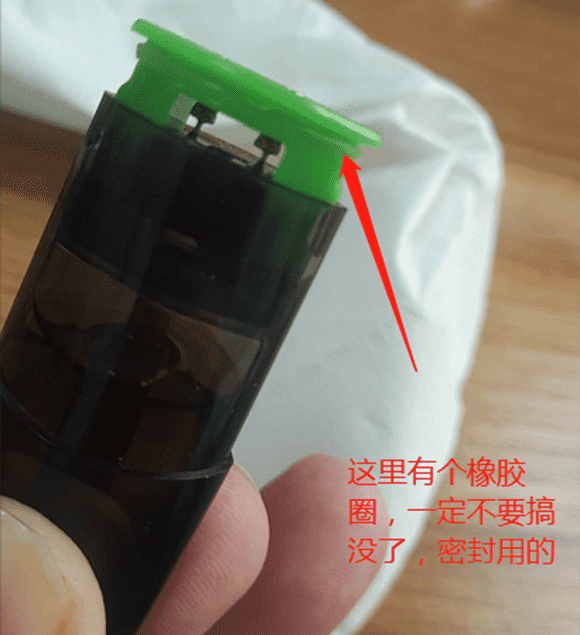
One reminder: there is a rubber ring here on the atomizer core. Be careful when disassembling the pod—don’t lose it or pinch it off, or leakage may occur. When reinstalling, there is no positive or negative orientation, so you can fit it in any direction.
 Done, refilling is complete. Wait about two or three minutes and it’s good to go.