FREEDOM atomizer vaping device review

Let’s start with the introduction: Packaging, the overall packaging is a white hard cardboard box with a plastic seal, featuring a design that allows you to see the FREEDOM atomizer's appearance without opening the package; the front displays a real photo of the FREEDOM atomizer.
The back includes a packing list, precautions, product information, and anti-counterfeiting labels;
Upon opening the box, you will find the atomizer disassembled. Following the steps provided, it can be easily assembled. The first layer contains three plastic bags, which include rubber rings, screws, a screwdriver, cotton, and three dual-core Clapton coils. The accessories are quite comprehensive; as long as you have a device and e-liquid, you can assemble the atomizer and use it, thumbs up!
Main Body: The main body can be divided into six parts: drip tip, top cap, integrated e-liquid filling chamber, coil building platform, glass chamber, and airflow adjustment ring, making the structure simple and assembly convenient.
The integrated black 510 drip tip features an internal arc design that enhances the flavor of the vapor and alleviates condensation at the mouthpiece;
The trapezoidal design of the top cap enhances the visual appeal, and the combination of the top cap and airflow adjustment ring is the highlight of the atomizer;
The integrated e-liquid filling chamber has a large filling hole that can easily accommodate standard e-liquid bottles or droppers. The prominent FREEDOM logo on the front is quite eye-catching, and the dome-shaped design inside the chamber helps concentrate the vapor;
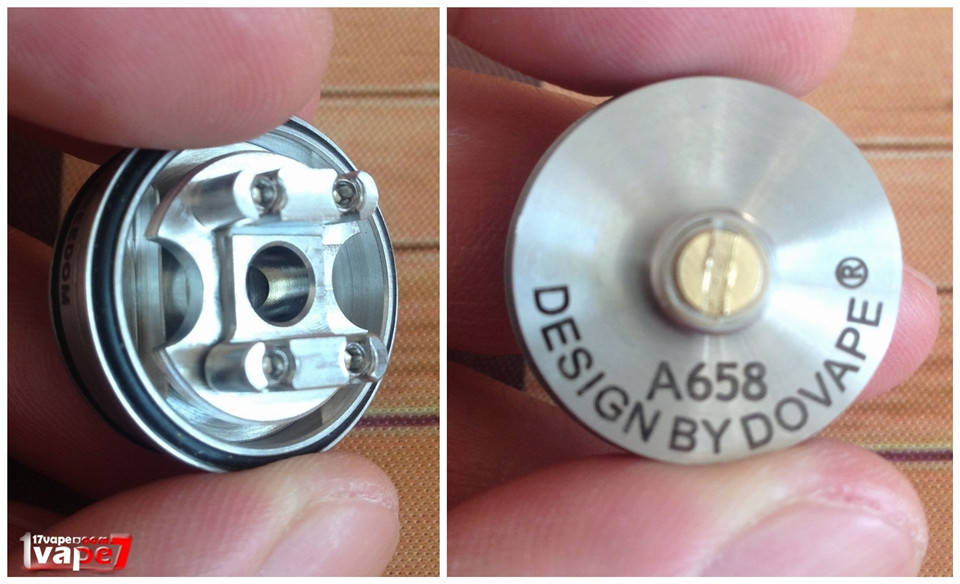
The coil building platform is very friendly for beginners, featuring a dual-post, four-hole design that allows for easy installation of coils, whether they are wrapped clockwise or counterclockwise. The GTA design prevents oil flow issues, and the gold-plated electrode screws enhance conductivity;
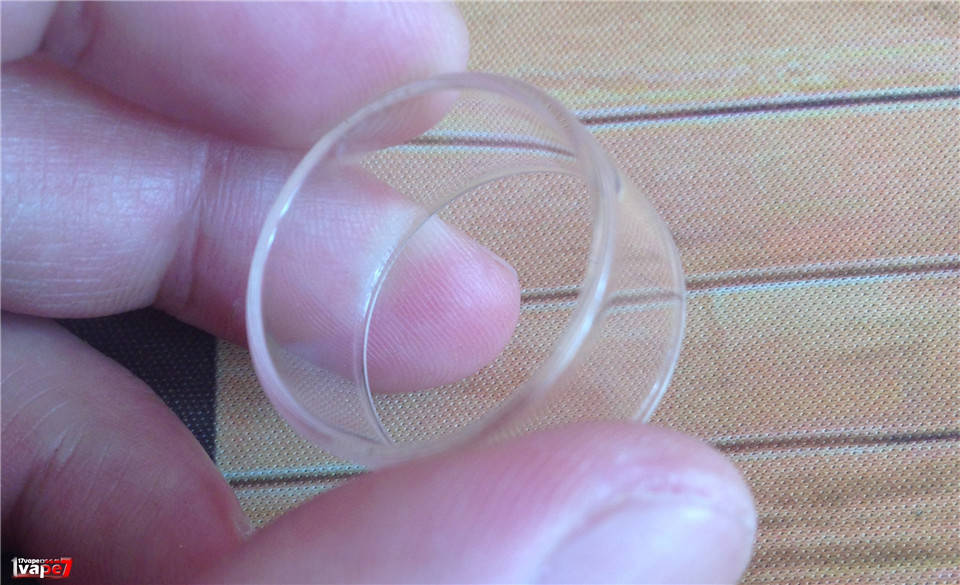
#p#分页标题#e#The glass chamber is crafted with high-quality materials, with no sharp edges that could cut your hands, and the material is thick;
The airflow adjustment ring features a trapezoidal design that corresponds visually with the top cap.
Wicking the FREEDOM atomizer is very simple; it can be done in just a few minutes following the instructions. The heating wire is easily installed by wrapping it around the corresponding electrode post screws. Here are a few notes regarding wicking and cotton installation: 1. When wicking, you must remove one side of the screws (the other side can be loosened to insert the heating wire). Be careful not to lose it, although there are spare screws. 2. Do not tighten the screws too much; many players, especially beginners, are afraid of jumping resistance and tighten the screws too hard, which can damage the outer side of the electrode post and make it easier to jump resistance. If it has already been damaged, just gently clamp it back with pliers; be careful to use a screw clamp. If too much force is applied, the outer electrode post may bend inward, making it impossible to insert the screw or even break it, which would be a loss. 3. Cotton can be threaded freely; I have never leaked with 3.0mm diameter heating wire. The cotton should fill half of the round oil hole and hang down to the bottom of the chamber.
In summary: The atomizer receives overall positive reviews, with no significant flaws; the overall craftsmanship and materials are solid; it has an outstanding appearance, making it a savior for aesthetics; the coil building platform is simple and supports beginner DIY; low oil pressure reduces the possibility of leaks for beginners; the half-circle top cap reduces the complexity of filling; the single-coil dual-post four-hole design accommodates both single and dual coils; shortened airflow path enhances flavor performance; optimized structure reduces heating; and it is easy to clean, with a removable airflow ring.
Alright, that’s it for now, see you next time...